Showing posts with label tutorial. Show all posts

Monday, September 5, 2011

Miniature Agility Course

Here's a craft for your critter! Make this mini agility course for your mini friends. if you don't have a pet - bird, lizard, girble, etc - you can still make it for a stuffed animal. I think the pictures can give you a good enough idea of how to make them - I'm not in a tutorial mood - I could atleast tell you the matirials I used. i would also suggest using a hot glue gun. if you use different glue you'll be sitting there for a long time waiting for it to dry while you hold it in place.
Don't leave these in the cages with your little critters, only let them have them when you are there to supervise them. DOG WALK: 12 regular, 2 purple, and 1 green popsicle sticks and one toilet paper tube.


TRIANGLE: 2 orange, 2 yellow, and 5 regular popsicle sticks (one with the ends cut off)


TEETER: 3 red, 9 regular, and 2 one-inch popsicle sticks


JUMP: 2 blue and 5 regular popsicle sticksA-FRAME: 2 purple and 13 regular popsicle sticks WEAVE POLES: 5 tooth pics, 2 yellow popsicle sticks (none of my critters could fit in this, It's kind of small. If you are going to let your critter play with it, cut the sharp tips off.)


TUNNEL: A clean can with both ends open (either open it with a dull edge can opener or sand the edges you don't want you or your little critter to get cut on the sharp mettal).


HOOP: 2 regular and 1 yellow popsicle sticks, 2 straws (I cut a couple inches off of the bottom of mine) a foot of yarn, and a yogurt lid with the center cut out.

Tuesday, June 14, 2011

Banner

We made this banner for my brother's graduation party. It's simple, quick, and easy. no finished edges!!!
You will need:
*2 or 3 different materials that coordinate with each other. examples: old curtains, sheets, clothing, etc.
*Sewing machine
*Scissors Cut out a hole bunch of triangles all the same size using the fabrics you've chosen.


Pic out two triangle you want together.


Cut off two inches off the top of the triangle you want over the other. Lay it over the triangle you want on bottom, the two top edges together. sew all the way around the top triangle.


Once you get the amount of triangles you want sewn together(we used 7) lay them out in the order you want them to hang.


Cut off the edge of what ever your recycling, we used old curtains so the edge is fairly thick.


Use the strip you cut off to sew all your triangles to. sew the top side of each triangle in a row to the strip of fabric. When your banner is done you can hang it where ever you'd like.


When sewing the triangles together use different stitches to give it a funky look! i enjoyed seeing what all my stitches looked like, and messing around with my machine.


Use what ever colored thread you want.


Wednesday, June 8, 2011

Funny Kitty

Poor Lila Mae was feeling all left out with the new baby in the house, so I'm treating her extra special with some cream cheese... her favorite!

Thursday, January 27, 2011

Journal

To make your self a journal you will need
*A large drawing pad with a card board back (pull off the cover and pull out all the pages and stack them up)
*Scissors
* A Long Reach stapler
*Some thing to decorate the cover


First fold the pad of paper and crease the edges.

Unfold it, Staple in five spots along the crease
Refold and push the edges again. Use the scissors to cut the edge of the paper if the paper sticks out past the cardboard.
Decorate the cover in any way that suits you best. You could use fabric, markers, paints, or scrap booking materials.


Monday, August 30, 2010

Tutorial: Fingerless Gloves

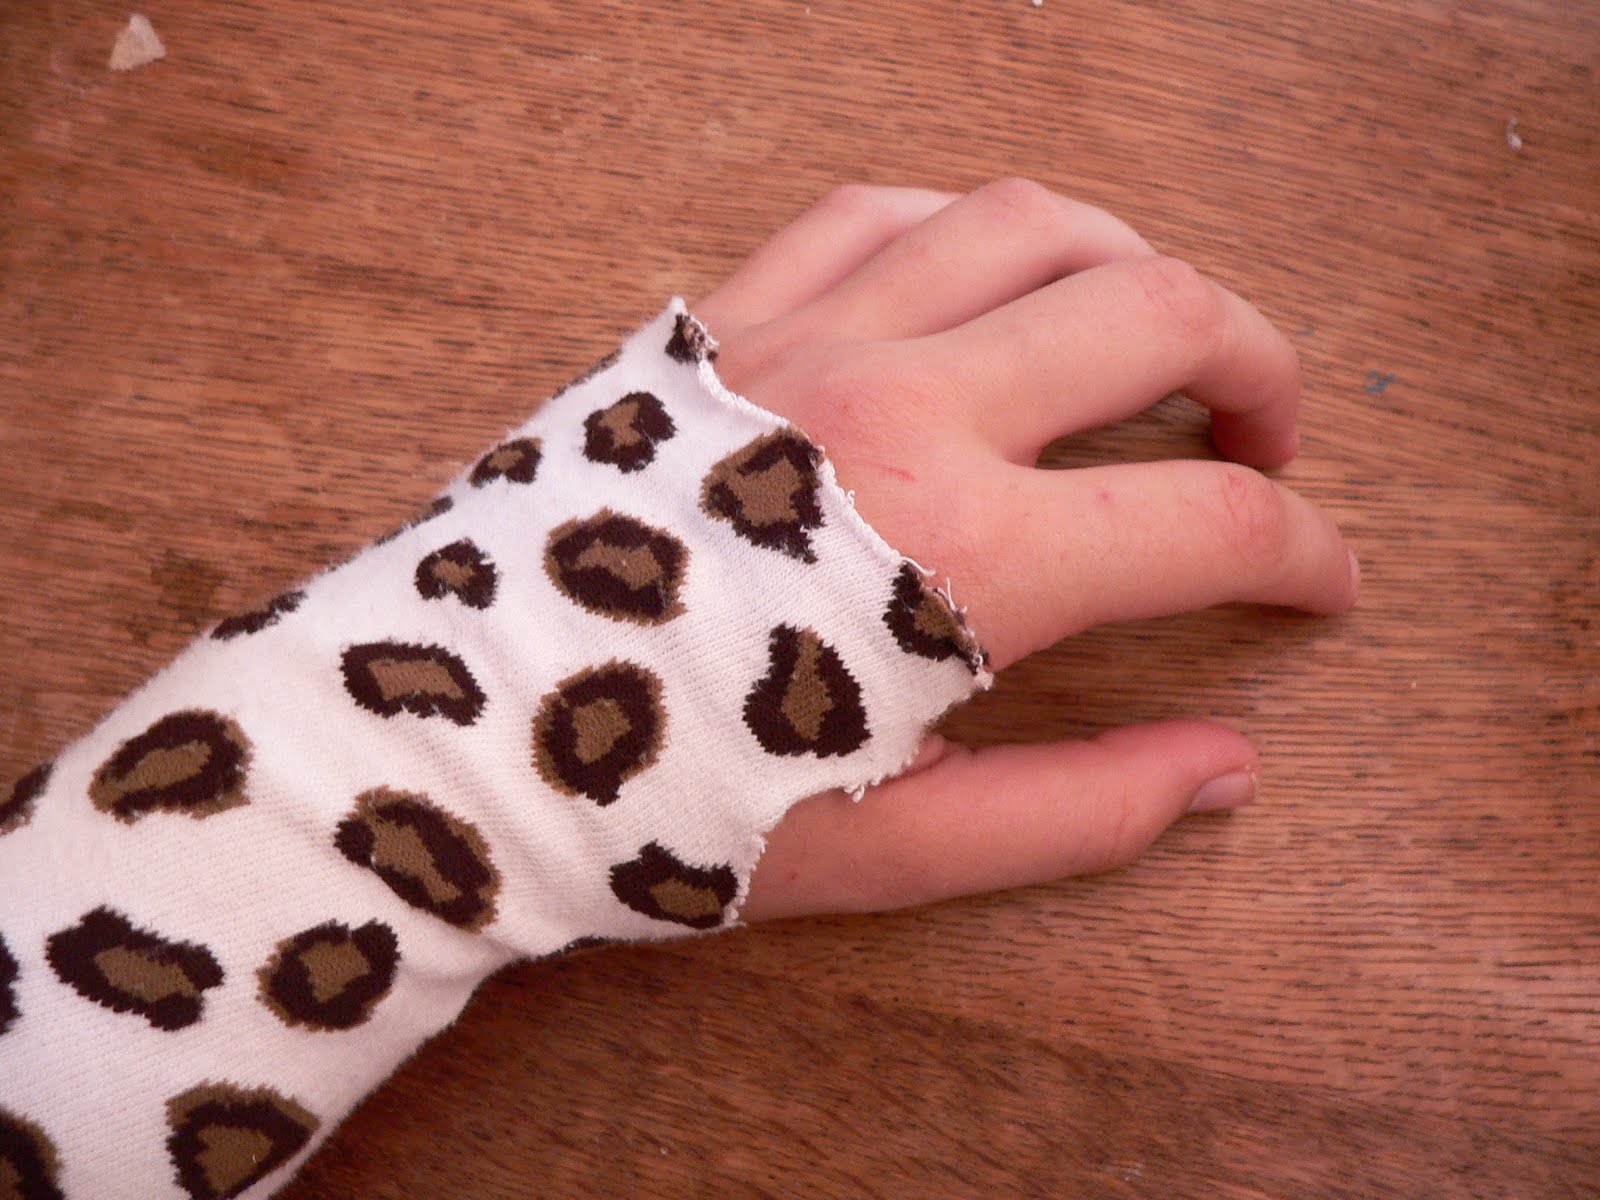
These fingerless gloves are so, so easy to make. All you need is a pair of socks or tights (you may want to use tight that are for someone smaller than you so they wont slide off.) Here's how.


Cut the sock just above the heel.
Find where you want your thumb and cut a slit just under the top band. do the same on both socks and you have a set of fingerless gloves.


With the tights the gloves will, or can go to the elbows or higher.
cut off the foot just above the heel (like with the socks.)
Measure with your arm how long you want them and cut again. Next cut the thumb hole down by the ankle and, Walla! another set.


No glue or sewing needed.

Tuesday, March 3, 2009

tutorial: journal out of junior caramels box

This journal is so easy to make. You can make one following these simple instructions. You start with a junior caramels box (or other similar sized box) and cut off three of the thinner edges to make it like a book shape.


Then take a little stack of regular white lined paper and lay the box open on the paper. Make sure you lay the box in the direction I have it in the photo so the lines in your journal go in the correct direction. Then trace with a pencil around the box. Next take the box off the paper and cut on the line you drew (make sure you hold paper with the edges lined up as you cut).

After you do that, fold the paper in half the long way. Once you've done this hold it up to the box be sure the edges are flat and staple them together. there you've made your self a journal

Sunday, February 15, 2009

Tutorial:Hair clips


These are hair clips my mom and I came up and with for me and a bunch of my friends to make. You start by taking the hair clip, (we used two different kinds, hair clips and barrettes).
Cover the top of the barrette with glue and take a not to heavy or thick yarn and tightly rap it around the clip.

After you've done that there are many different things you can do with it, you can just wear it how it is, or you can decorate it with all sorts of things. We put buttons, wooden shapes, and foam shapes on them. If you use the foam shapes I would suggest not using the sticky back ones if the sticky part will be touching your hair because the sticky part gets stuck in your hair.


To make the hair clip ones cover the top of the clip with glue, and take a large foam shape and glue it on.
Then glue other little foam shapes on the big one (you can use sticky back ones for these if you want but only for the little ones) you can also use sticky back letters and write your name.


Hear are some
different clips I made.


Saturday, February 14, 2009

Tutorial: How to Make a Bathing Suit for an 18" doll from a sock

I came up with an idea on how to make a bathing suit for my doll, I thought I would share it with you.

I started with a regular sock, if you want you can use one with a print. Then you lay the sock on the doll with the toe of the sock resting at the top of her thigh.Cut the sock at the neck level.


Then with a permanent marker, draw a line to mark the spots for her legs, but be sure to leave the spot for in between her legs wide enough . Then cut the leg holes.


Next draw a line to mark the spots for her arms and neck. Be sure when you draw the top line (the neck line), that you draw it to the side edge of the sock and not to the top edge, then cut on that line. Also cut on the little curved lines to create the arm holes. After you do that you have a bathing suit.


Then, if you want to make a headband and a towel with the pieces which are left over from the sock, here's how. Take the rim of the sock and cut it off for a head band.


Then take the left over piece that would normally rap around the ankle and cut it so it is no longer in a loop to make a towel.
Now you have a whole beach set.


Happy Swimming. Hope you enjoy.