Showing posts with label crafts. Show all posts

Tuesday, January 31, 2012

How to Strategically Disassemble a Suit Jacket

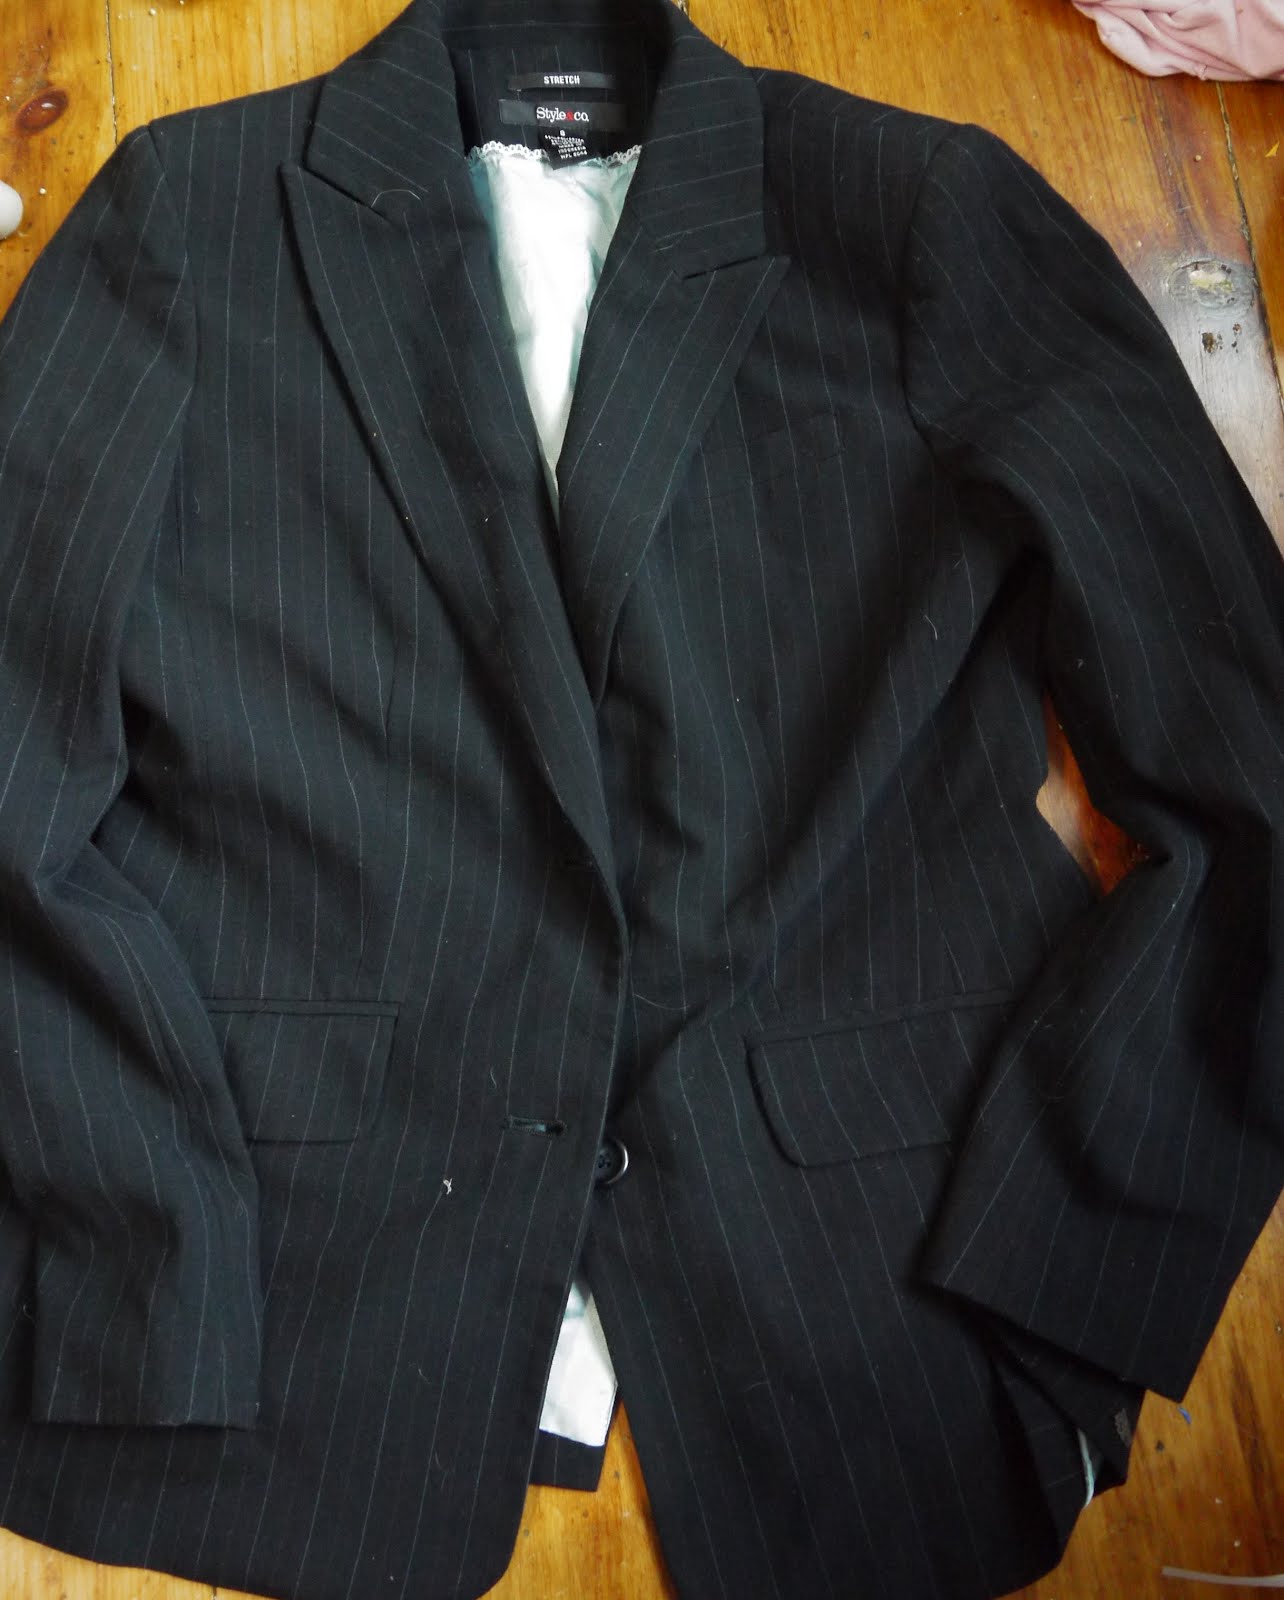
First you need your suit jacket.
Not all suit jackets will be the same to disassemble as mine. Use your brain and if some thing on yours is different just improvise.

Start by cutting off the sleeve by cutting around the sleeves outer seam that attaches it to the shoulder.


This seam


Once you've gone all the way around you can then then start cutting around the lining's seam, that will remove the sleeve completely.


Now go back to the shoulder and cut around the other side of the seam to remove the seam.


You can now take the shoulder pad out. You can keep this to make some thing with or you can just throw it away!


Now go back to the sleeve and pull the lining out so that the sleeve becomes inside out with its lining coming off of the wrist. Detach the two pieces from each other in the same manner you detached the sleeve from the shirt.


Now it's time to open up the sleeve. Cut out the seam (both sides, so the seam is completely detached from the sleeve)that runs from the arm pit to the wrist.


The sleeve should then look something like this. You can remove the buttons if you wish. I left them on.

Repeat the process on the other sleeve.


You can then start cutting out the lining by using your scissors and cutting along the edge seam that attaches the lining. There may be tricky "obstacles" to go around... but you'll figure it out!


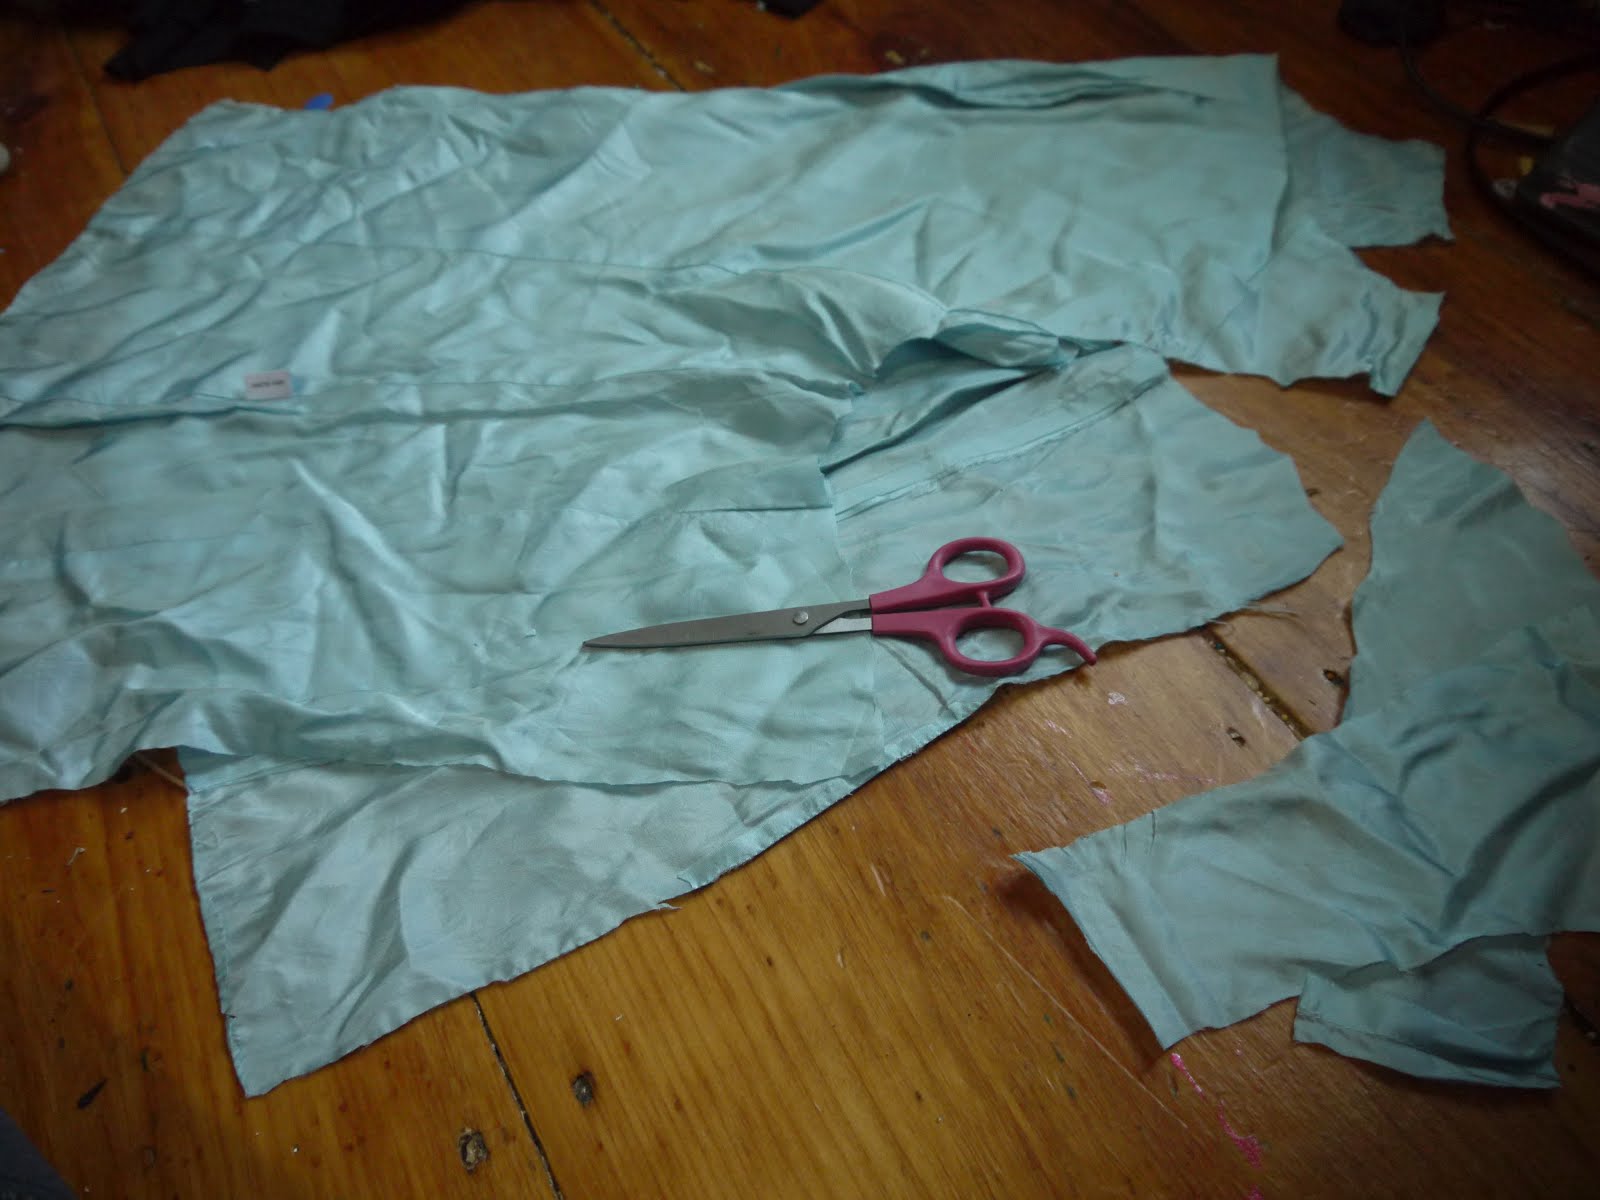
You can then either un-do or cut off any bits of lining still left on the outer fabric.


You can then cut out and lace, buttons, collars, etc (any thing you don't want on your fabric). I would Highly suggest removing the collar.


You can take out all the seams in the two different fabrics if you wish but i found it to be a waist of time that left you with smaller pieces of fabric. I did not undo them but left them where they are.
Now you have a nice pile of fabric to use as you wish.


Wednesday, December 21, 2011

Christmas Gifts

I have been going nut's making Christmas gifts. I want so badly to post them on here for you all to see but I can't for fear some one will see them that's no supposed to.
So after Christmas I will probably do a lot of posting!!! I can't wait!

Monday, October 31, 2011

Sewing

So, I descovered about a year ago that I LOVE to sew... I was looking throught this blog and realized I've never shared what I've sewn with you... I like no sewing things on here. So Now I will start sharing! Most of the sewing i like to do Is turning old clothing into new clothing, You'll probably see that though! I made this for my sister out of one of my old skirts, It was a really ugly skirt!

Friday, October 21, 2011

Air Planes

This is us making them, what a mess.


Here's Mine, ^


My little sister's^,


My mom's , she was determined to use the ice cream cone! ^ ,


And my brother's ^

Monday, June 27, 2011

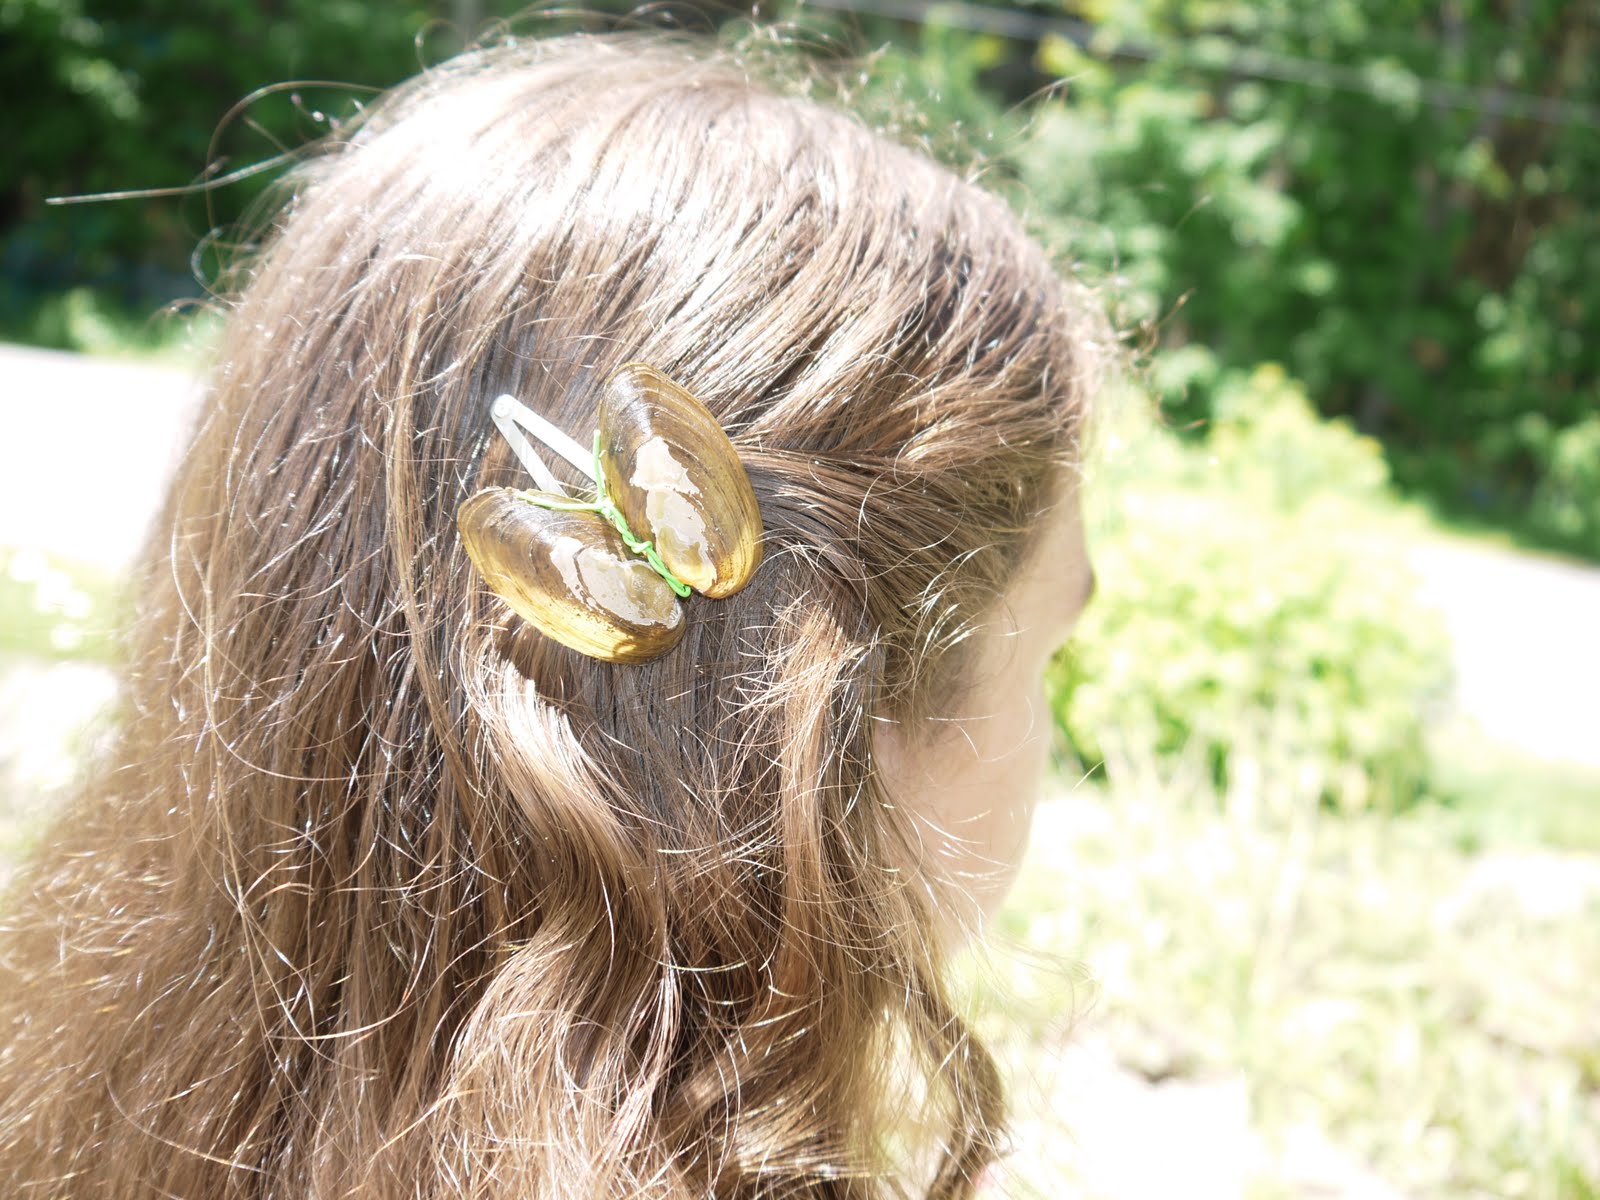
Sea Shell Hair Clip


Here's a great way to show off the shells you get from the beach!!! you can either glue the shell on to the hair clip and then attache the wire, or you could wrap the wire all around the shell and then glue the whole thing to the clip. I would suggest using a hot glue gun...... for every thing!!! That's my favorite form of glue. It dries so quickly so you don't have to sit there holding it, is doesn't run or drip so you can put a giant blob of it on and know it will hold, and it's just superrr easy to use!!! I love it!

With this craft use allot of glue, As the shell will easily fall off while it's bobbing around on top of your head!

Tuesday, June 14, 2011

Banner

We made this banner for my brother's graduation party. It's simple, quick, and easy. no finished edges!!!
You will need:
*2 or 3 different materials that coordinate with each other. examples: old curtains, sheets, clothing, etc.
*Sewing machine
*Scissors Cut out a hole bunch of triangles all the same size using the fabrics you've chosen.


Pic out two triangle you want together.


Cut off two inches off the top of the triangle you want over the other. Lay it over the triangle you want on bottom, the two top edges together. sew all the way around the top triangle.


Once you get the amount of triangles you want sewn together(we used 7) lay them out in the order you want them to hang.


Cut off the edge of what ever your recycling, we used old curtains so the edge is fairly thick.


Use the strip you cut off to sew all your triangles to. sew the top side of each triangle in a row to the strip of fabric. When your banner is done you can hang it where ever you'd like.


When sewing the triangles together use different stitches to give it a funky look! i enjoyed seeing what all my stitches looked like, and messing around with my machine.


Use what ever colored thread you want.


Tuesday, April 19, 2011

Miniature Loom

Well dad took this video for me, He put it on You Tube. I'M ON YOU TUBE! Here's the link http://www.youtube.com/watch?feature=youtube_gdata_player&v=pY0DiWJM8Zw I made this loom in a watch box cover, Theshutle is a safty pin, the heddles are needles, the treadles, front beam, and back beam are popsicle sticks. I tried to put this on like I did the other video but because it was e-mailed to me I had to make it a link, sorry about that.

Fairies

I love fairies. they have a little enchanting delicacy to them. I picture them as young and gentle, but playful and creative. fairies are quite a relaxing thing to make. there are so many different ways to make them all unique. change the wings, the hair, shoes, jewelery, add a hat, a little bow, then there's that enchanting, beautiful, little girl face, there's no need of a mouth, or nose, not even eyes and yet there's still an expression. I love fairies. I made this fairy out of a hand made pompom, they work better than store bought, for this at least.


I've gone fairy crazy. I just keep making fairies!!!


I exspecialy like this one... no... I like them all, I made more than just the two, but these were my favorite.


Saturday, March 5, 2011

My sister and i made butter in a jar! We ground a carrot mixed it with milk and squeezed the juices ito the jar to add coloring, just like in Little House In The Big Woods It looked weird in the jar once it was done. YUCK!!! It looks nasty

Friday, February 11, 2011

Cracker Cube

I made a cracker cube! I stuck them together with peanut butter.
It's hollow inside. ><>

Friday, January 28, 2011

Little shoes

Make these little shoes for you dolls. Trace your dolls feet onto foam (if your doll has toes round the top so it's not bumpy) cut out each foot onto 2 pieces of foam. Find a fabric you like and cut it a little over the length and the width to go over the top of of your dolls foot. cut 2 the same. using a hot glue gun glue the ends of the strip and glue it between the 2 pieces of foam and glue the 2 pieces together. add a piece of either the same fabric or elastic cording to the back so that the dolls foot doesn't fall out. Use your imagination and create flip flops with beading wire or whatever your creative mind comes up with!

Thursday, January 27, 2011

Journal

To make your self a journal you will need
*A large drawing pad with a card board back (pull off the cover and pull out all the pages and stack them up)
*Scissors
* A Long Reach stapler
*Some thing to decorate the cover


First fold the pad of paper and crease the edges.

Unfold it, Staple in five spots along the crease
Refold and push the edges again. Use the scissors to cut the edge of the paper if the paper sticks out past the cardboard.
Decorate the cover in any way that suits you best. You could use fabric, markers, paints, or scrap booking materials.